
Transforming animal hides into durable, usable materials can seem daunting, especially when preserving the hair. understanding how to effectively tan hides with hair on is essential for both artisans and enthusiasts alike, preserving traditional techniques while achieving stunning results. This guide will walk you through the process, ensuring your hides maintain their natural beauty and integrity.
Contents
- Understanding the Basics of Hide Tanning: A historical Perspective
- Essential Tools and Materials for Successful Hair-On Tanning
- Step-by-Step Process: Preparing and Preserving the Hide
- Natural vs. Chemical preservatives: Choosing the Right Method
- Tips for Avoiding Common Tanning Mistakes
- Conditioning and maintaining Your Tanned Hide: Best Practices
- Crafting with Tanned Hides: Creative Uses and Projects
- The Ethical Considerations of Tanning: A Thoughtful Approach
- Faq
- What is the process of how to tan a hide with hair on?
- Why does tanning a hide with hair on require special techniques?
- Can I use modern tanning products for hides with hair on?
- How long does it take to tan a hide with hair on?
- What materials do I need to tan a hide with hair on?
- why should I choose traditional methods of tanning over modern techniques?
- What are common mistakes to avoid when tanning a hide with hair on?
- Concluding Remarks
Understanding the Basics of Hide Tanning: A historical Perspective
From the dawn of civilization, humans have utilized animal hides for a multitude of purposes, from clothing to shelter, and even artistic expression.The process of tannage, which transforms raw animal hides into durable leather, is a craft that dates back thousands of years, with methods evolving from rudimentary techniques used by ancient cultures to more sophisticated processes seen today. To fully appreciate the art of hide tanning, especially with hair on, it’s beneficial to explore its historical context.
The Origins of Hide Tanning
Initially, the preservation of hides was a necessity for survival.Various indigenous cultures employed a range of natural materials to tan hides. Early methods frequently enough included the use of animal brains, which contain natural emulsifiers, and bark from specific trees rich in tannins. Such practices were not onyl practical but also steeped in cultural significance; many tribes incorporated ceremonial aspects into their tanning rituals, viewing it as a way to honor the animals that provided for them.
- Materials Used:
– Animal brains
– Bark from trees like oak,hemlock,and chestnut
– Natural oils (fatty substances from animals)
Over time,as trade and exploration expanded,so did the techniques.The introduction of chemical tanning methods in the 19th century revolutionized the industry, making leather production more efficient and widespread. These advancements allowed for greater uniformity and durability in the leather, catering to a burgeoning market.
Traditional Methods in Contemporary Practice
Even with modern advancements, many craftsmen and enthusiasts still prefer traditional methods for tanning hides with hair on. Frequently enough viewed as a lost art, these techniques require patience and a deep understanding of the materials involved.Historically, the skin is treated to preserve the fur while ensuring the hide remains supple and odor-free. This balance of preservation requires both skill and attention to detail.
- Key Steps in Traditional Hide Tanning:
1. Cleaning: The hide is thoroughly washed to remove any salts and impurities.
2. Fleshing: Excess flesh is carefully removed to prevent rot and disease.
3. Salting: Generous amounts of salt are applied to draw out moisture.
4. Tanning: The hide is soaked in a solution, often derived from natural tannins, for several weeks.
5. Drying: The hide is air-dried, maintaining the hair and adding a distinct aroma that speaks to its handcrafted nature.
Conclusion
Understanding the basics of how to tan a hide with hair on—rooted deeply in human history—not only sheds light on the survival skills of our ancestors but also underscores the importance of tradition in the craft today. By appreciating these historical methods, enthusiasts can connect with a practice that has shaped many cultures, bringing an enriching narrative to the art of leather crafting.
Essential Tools and Materials for Successful Hair-On Tanning
To embark on the journey of tanning a hide with hair on, having the right tools and materials at your disposal is absolutely crucial.The tanning process can be intricate and demanding, but with a well-prepared toolkit, you can ensure a smoother experience. From the initial skinning of the animal to the final stages of preservation, each step requires specific items that contribute to the quality of the finished product.
Essential Tools for Hair-On tanning
Gathering the right tools before you dive into the tanning process can greatly improve both the quality of your work and your ease of handling. Here’s a rundown of essential tools you should consider:
- Fleshing Knife: A sharp knife designed to remove fat and flesh from the hide without damaging it is vital.
- Scissors: Scissors help in trimming excess skin and fine-tuning the edges of your hide.
- Skinning Knife: This tool allows for precision while skinning the animal, ensuring a clean and smooth sample.
- Salt: Used for preserving the hide before the tanning process begins, ensuring it does not spoil.
- Tan Solution: Depending on your chosen method, you might need a commercial or homemade tanning solution to treat the hide.
- Hanging rack: A sturdy structure for hanging the hide while it dries and cures.
- Measuring Tools: Rulers or tapes to determine the size of the hide for accurate cutting and borders.
Necessary Materials for Tanning
Along with tools, you’ll also need a selection of materials that will assist in achieving a successful tanning job. Here’s a brief overview of what you’ll want to have on hand:
| Material | Description |
|---|---|
| Preserving Salt | Coarse salt helps draw moisture out of the hide and prevent spoilage during preparation. |
| tanning Agent | You may choose vegetable-based solutions, chrome-based, or oil-based depending on your desired finish. |
| Conditioning Oils | These are applied after tanning to keep the hide supple and enhance its natural look. |
| Water Container | A large container for soaking the hide and mixing tanning agents. |
| Leather Gloves | Protective gloves are essential to avoid skin and chemical irritations. |
Having a well-stocked toolkit equipped with these essential tools and materials will not only streamline your process but also improve the overall quality of your final product. When you know how to tan a hide with hair on effectively, you’ll have the confidence to create pieces that showcase both your skill and the beauty of the natural materials at hand.
Step-by-Step Process: Preparing and Preserving the Hide
Preparing animal hide for tanning is a meticulous practice that connects art, tradition, and survival. Understanding the steps involved not only ensures the hide is preserved effectively but also helps you appreciate the cultural significance behind this ancient skill. Below, you’ll find a detailed breakdown of how to prepare and preserve hide, setting the foundation for a successful tanning process.
Gather Your Materials
Before diving into the preservation process, it’s essential to collect all necessary materials. Having everything on hand will streamline your efforts and avoid interruptions.Here’s a quick list of what you will need:
- fresh hide (preferably from a recent kill)
- Sharp knife or skinning knife
- Salt (non-iodized is preferred)
- Water
- Large container for soaking
- Soft towels or rags for drying
- Optional: Preserving chemicals depending on the tanning method
Skinning and Initial Preparation
The journey begins with the careful removal of the hide from the animal. This step is critical as any mistakes during skinning can lead to tears or damage, complicating the preservation process. Take your time and follow these essential points:
- Skinning Technique: Work slowly with a sharp knife, focusing on sections rather than taking broad strokes. Always keep the blade facing away from the hide.
- Avoiding Damage: Be mindful of fat and flesh layers; avoid cutting too deeply or leaving excess fat on the hide. This will contribute to a smoother tanning process later on.
once you’ve successfully skinned the animal, it’s crucial to act quickly to ensure the meat doesn’t start to putrefy on the hide.
Salting the hide
The salting method is an age-old technique used to dehydrate and preserve the hide. Here’s how to do it properly:
- First Layer of Salt: Lay the hide flesh-side up on a flat surface. Generously cover the entire hide with non-iodized salt.
- Let it Cure: After salting, fold the hide in half (flesh sides together) and place it in a cool, dry place for 24-48 hours. This allows the salt to draw out moisture effectively.
- Shake Off Excess Salt: After curing, shake off any remaining salt and rinse the hide gently in cool water to remove salt residue.
Soaking the Hide
To prepare it further for tanning, soaking the hide will soften it and make it more pliable. Here’s how to soak your hide properly:
- Mix a Soaking Solution: Dissolve salt in water to create a saline solution, ideally at a ratio of one cup of salt per gallon of water.
- Fully Submerge: Place the hide into the solution, ensuring it’s entirely submerged. Allow it to soak for 12-24 hours, checking periodically for any signs of spoilage.
- Drying Phase: After soaking, remove the hide and gently pat it dry with soft towels or rags. Avoid aggressive rubbing as this coudl damage the hair follicles.
By following these steps thoroughly, you’ll ensure that the hide is adequately prepared for the tanning process, enhancing its quality and longevity. This traditional preservation guide is rooted in time-honored techniques, ensuring respect for the materials while also creating something beautiful and functional.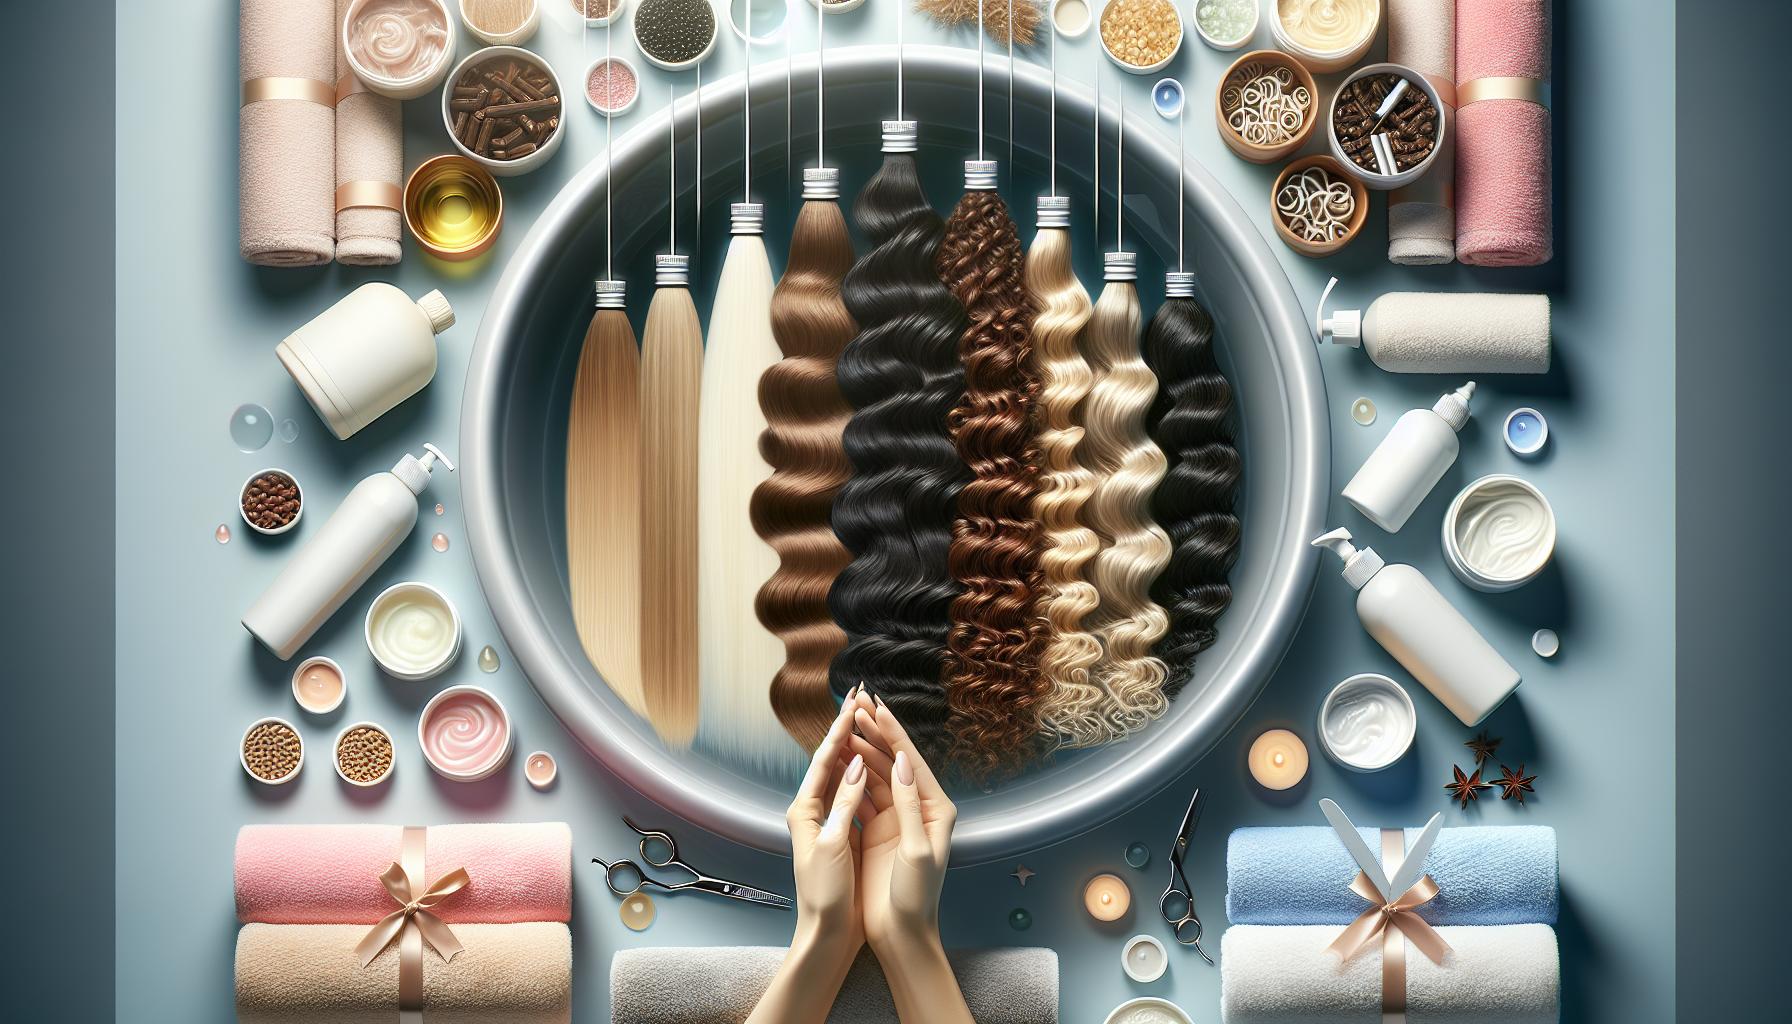
Natural vs. Chemical preservatives: Choosing the Right Method
When it comes to preserving hides, whether for crafting or functional use, the choice between natural and chemical preservatives can significantly affect both the longevity and quality of your finished product. Understanding the properties of these preservation methods allows you to make informed decisions tailored to your specific needs. While natural preservatives frequently enough resonate with those pursuing traditional craftsmanship, chemical alternatives sometimes provide a more convenient and effective solution.
Natural Preservatives
Natural preservatives, derived from plant or animal sources, have been used for centuries and are favored for their minimal environmental impact and lack of synthetic chemicals.Common examples include:
- Salt: A time-honored method that draws out moisture, inhibiting bacterial growth.
- Vinegar: Acts as an acidic agent to increase preservation longevity through pH alteration.
- Alcohol: A potent bactericide that can prevent decay, especially in animal hides.
These methods are especially suitable when following the principles outlined in the “How to Tan a Hide With hair On: Traditional Preservation Guide,” as they preserve the hide’s natural characteristics while being safer for the artisan and habitat. However, the downside is that natural methods may require more time and consistent monitoring to maintain effectiveness throughout the preservation process.
Chemical Preservatives
On the other hand, chemical preservatives offer robust solutions for those looking for efficiency and durability. Compounds such as aluminum sulfate and formaldehyde have been extensively used due to their effectiveness in halting decay and maintaining flexibility in the hide. These chemicals can provide:
- Faster action: Reducing the risk of spoilage during the initial curing process.
- Enhanced shelf life: Offering a longer lifespan than most natural alternatives.
Though, it’s critically important to note that while these solutions might simplify the process, they can alter the hide’s texture and appearance and pose potential health risks, requiring careful handling. This can be a critical consideration for those adhering to the artisanal practices discussed in ”How to Tan a Hide With Hair On: Traditional Preservation Guide.”
| Preservative Type | Pros | Cons |
|---|---|---|
| Natural |
|
|
| Chemical |
|
|
Choosing between natural and chemical preservatives ultimately hinges on your personal values, the specific hazards of your preservation situation, and your long-term goals for the hides you are working on. Engaging with the content of the “How to Tan a Hide With Hair On: Traditional Preservation Guide” will better prepare you to assess the implications of each method and confidently embark on your hide-tanning journey.
Tips for Avoiding Common Tanning Mistakes
To achieve the ultimate finish when tanning hides, attention to detail is crucial. Many enthusiasts, especially those new to the craft, can encounter common pitfalls that may compromise the quality of the final product.Understanding how to avoid these errors can make your tanning journey smoother and more successful,resulting in a beautifully preserved hide that showcases your hard work.
Selecting quality Specimens
One of the foundational steps in tanning is starting with a quality hide. Avoid using hides that show signs of damage, such as deep cuts or extensive bruising, as these imperfections can affect the tanning process and final appearance. Always source your hides from reputable suppliers or hunts where the animals were handled carefully. When you peel the hide from the carcass, aim to do so with precision; rough handling can cause tears that may spoil your tanning efforts.
Proper Cleaning and Preparation
before tanning, it’s vital to clean the hide thoroughly. Missing this step can lead to the failure of the tanning process, as residue can inhibit preservation. Follow these tips for effective cleaning:
- Remove Flesh and Fat: Use a sharp knife to carefully scrape off any remaining flesh and fat from the inner surface of the hide.
- Wash with Mild Soap: Rinse the hide to remove blood and dirt, using a mixture of water and a mild soap. Avoid harsh chemicals.
- Salt the Hide: To mitigate the risk of spoilage before the tanning process, cover the hide in non-iodized salt for at least 24 hours.
This table summarizes the essential steps in hide preparation:
| Step | Description |
|---|---|
| Flesh Removal | Scrape the inner side of the hide to remove excess flesh and fat. |
| Washing | Clean the hide with a mild soap and water solution. |
| Salting | Apply non-iodized salt generously to prevent spoilage. |
Mind the Drying Process
Another frequent mistake in hide tanning is neglecting proper drying techniques. After washing and salting, ensure that the hide is dried in a way that minimizes creasing and warping. Ideally, hang the hide in a shaded, well-ventilated area, avoiding direct sunlight to prevent damage. over-drying can lead to cracking, while insufficient drying might cause mold growth, both of which can ruin your tanning project.
By following these straightforward tips, you can sidestep the common mistakes often associated with the craft of tanning hides. Embracing these practices will ultimately help ensure that your results are not only satisfactory but showcase your dedication to mastering the traditional art of hide tanning.
Conditioning and maintaining Your Tanned Hide: Best Practices
To ensure your tanned hide remains supple, aesthetically pleasing, and durable over time, proper conditioning and maintenance are paramount. just as you would care for a cherished piece of leather, regular attention to a tanned hide with hair on will extend its life and beauty. The right practices not only enhance its natural sheen but also protect it from environmental elements that can compromise its integrity.
Conditioning Your Tanned Hide
Conditioning is crucial for revitalizing moisture and flexibility in the hide. Over time, even well-tanned hides can loose their natural oils, leading to drying and cracking. Here are the recommended steps for effective conditioning:
- Select a suitable conditioner: Look for a product specifically formulated for animal hides, such as mink oil or specialty hide conditioners that nourish without causing harm to the fur.
- Test a small area first: Before applying any conditioner widely, conduct a patch test on a less visible area to ensure it does not alter the color or texture adversely.
- Apply evenly: Use a soft cloth or sponge to apply the conditioner in a thin, even layer.Make sure to work it into the hide, particularly along seams and creases where dryness may be prone to occur.
- Let it breathe: After submission, allow the hide to rest in a cool, shaded area for 24 hours to let the oils absorb properly.
Maintaining Your Tanned Hide
To keep your tanned hide in optimal condition, implement these ongoing maintenance strategies:
| Maintenance Practice | Frequency | Purpose |
|---|---|---|
| Clean with a dry cloth | Monthly | Remove dust and debris |
| Reapply conditioner | Every 6 months | retain moisture and flexibility |
| Inspect for damage | Seasonally | Identify and repair any tears or weak areas |
| Store properly | Annually | Prevent mold and mildew growth |
It’s essential to store your tanned hide in a temperature-controlled environment, avoiding areas with excessive humidity or direct sunlight. When storing, use breathable fabric covers rather than plastic to prevent moisture buildup. By following these best practices, you not only preserve your tanned hide but also celebrate the craftsmanship involved in its traditional preservation—a true testament to the art of tanning hides with hair on.
Crafting with Tanned Hides: Creative Uses and Projects
ther’s something uniquely satisfying about creating tangible items from natural materials, particularly when those materials come from your own hands. Tanned hides,especially those preserved with the hair on,open up a world of creative possibilities. Not only do these hides retain the character and charm of the animal, but they can also serve as the foundation for various projects that enhance your home or wardrobe.
Practical Applications for Tanned Hides
Using tanned hides in your projects allows you to embrace the beauty of craftsmanship while being eco-friendly. Here are some popular uses:
- Rug Making: A hide can make a stunning area rug, adding warmth and texture to your living space. Simple draping or more intricate stitching techniques can yield beautiful results.
- Wall Hangings: Tanned hides can serve as unique wall decor. Whether you choose to frame sections of the hide or create a tapestry, they can become conversation starters in your home.
- Fashion Accessories: Consider using pieces of tanned hide to craft bags, wallets, or belts. These accessories are not only stylish but also durable and one-of-a-kind.
- Furniture Accents: Adding tanned hide to furniture pieces, such as chairs or ottomans, provides a rustic flair. upholstering with tanned hides can infuse your décor with personality.
DIY Project Ideas
For those feeling crafty,there are numerous DIY projects to explore. Here are a few ideas to get you started:
| Project | Description | Materials Needed |
|---|---|---|
| Leather Patchwork Throw Pillows | Combine different sections of tanned hides for a unique pillow design. | Tanned hides, sewing machine, pillow inserts |
| Hides as Table Runners | A tanned hide can be cut and used as an elegant table runner for special occasions. | Tanned hide,scissors |
| Framed Hide Art | Create a striking piece by framing a decorated section of the hide. | Frame, tanned hide, decorative elements |
Each project not only allows you to repurpose and appreciate the beauty of tanned hides but also invites a sense of self-expression and artistry into your life. By engaging with this traditional material through various creative avenues, you’re not just making items; you’re crafting stories that connect you with nature and tradition, as emphasized in the guide on how to tan a hide with hair on. Embrace the process, and let your imagination lead your hands!
The Ethical Considerations of Tanning: A Thoughtful Approach
In an age where sustainability and ethical considerations are front and center, the practice of tanning hides—especially those preserved with the hair still attached—merits thoughtful examination. Understanding the complexities of this age-old craft not only empowers artisans but also raises important questions about animal rights, environmental impact, and cultural significance. engaging with traditional methods guided by respect and responsibility ensures that both the craftsman and the environment are honored.
Respect for Animal Life
Tanning hides with hair on often begins with the process of sourcing the raw material. It is crucial to ensure that the animals are sourced ethically,ideally from sustainable practices such as hunting for population control or from livestock that serve multiple purposes.This method emphasizes utilitarian philosophy—utilizing every part of the animal, thereby minimizing waste and honoring its life.Consider the following ethical sources when learning how to tan a hide with hair on:
- Wild Game: Animals hunted during regulated seasons can provide a valuable resource.
- Farmed Animals: Sourced from farms where livestock is used for food, ensuring nothing goes to waste.
- Historical Cultures: Studying traditional techniques used by indigenous cultures that have a deep-rooted respect for the animals they hunt.
Environmental Responsibility
Tanning is inherently tied to environmental considerations. Traditional tanning techniques often involve rigorous processes and materials, some of which can be harmful if not handled responsibly. For instance, the use of certain chemicals, while effective, can create ecological harm. It’s important to explore natural alternatives, such as:
- Vegetable Tanning: Using tannins from tree bark, leaves, and other plant materials.
- Fish oil and Brain Tanning: Utilizing natural oils can yield flexible and soft hides without harsh chemicals.
By choosing sustainable methods and understanding the impact of one’s craft, artisans can contribute positively to the environment, ensuring that the artistry of tanning does not come at the cost of the world we inhabit.
Cultural Significance
Beyond the environmental and animal welfare aspects, the cultural significance of tanning hides cannot be ignored. It often ties to heritage and tradition, connecting modern practitioners with their ancestors. engaging with historical methods fosters a dialog about the ongoing relevance of these practices in contemporary society. Artisans can bridge the gap between tradition and modernity by:
- Documenting Techniques: Sharing knowledge through workshops or online platforms.
- Collaborating with Indigenous Communities: Learning from cultural custodians who preserve traditional practices.
- Raising Awareness: Advocating for responsible sourcing and sustainable practices in the community.
approaching the art of tanning hides with hair on through a lens of ethics encourages a deeper connection to the craft. By emphasizing respect for animal life, environmental stewardship, and cultural significance, artisans can not only create beautiful products, but become stewards of a practice that honors both past and future generations.
Faq
What is the process of how to tan a hide with hair on?
The process of tanning a hide with hair on involves several steps: cleaning,fleshing,soaking,and applying tanning agents. First, you prepare the hide by removing excess fat and tissue, followed by soaking it in a solution. you use tanning agents to preserve the hide while keeping the hair intact.
Tanning is an age-old technique that allows for the preservation of animal hides. When done properly, the result is beautiful, durable leather that maintains the natural look of the hair. For a detailed guide, check out our less conventional techniques for skin preservation in our related article.
Why does tanning a hide with hair on require special techniques?
Tanning a hide with hair on requires special techniques to ensure the hair remains attached and in good condition. Traditional tanning methods focus on maintaining the integrity of both the hide and the hair, which is often not the case with hair-off tanning.
This preservation is critically important not only for aesthetic reasons but also for cultural or historical significance. Using specific tanning methods helps achieve a balance between flexibility and durability, ideal for crafting items like clothing or accessories.
Can I use modern tanning products for hides with hair on?
Yes, you can use modern tanning products, but it’s crucial to choose those specifically formulated for hair-on hides. Some modern options can effectively preserve both the hide and the hair while offering ease of use compared to traditional methods.
Many commercial products include synthetic agents that mimic the effects of traditional tanning.Always ensure that the product instructions specify compatibility with hair-on hides to avoid damaging your materials.
How long does it take to tan a hide with hair on?
Tanning a hide with hair on can take anywhere from a few days to several weeks, depending on the method used. The time required is influenced by factors such as the size of the hide, the techniques applied, and environmental conditions.
While traditional methods may take longer due to various steps like soaking and curing, modern tanning products may significantly reduce the time required. Ensure you follow the product guidelines for optimal results.
What materials do I need to tan a hide with hair on?
To tan a hide with hair on, you’ll need a few essential materials: a large tub for soaking, salt, a fleshing knife, and a tanning solution. Other tools include gloves, a scraper, and a fleshing beam.
Having the right tools ensures a smoother process and better results. It’s advisable to research specific tanning solutions, as they can vary widely in terms of effectiveness and ease of use. You might find additional resources on recommended materials in our tanning toolkit guide.
why should I choose traditional methods of tanning over modern techniques?
Choosing traditional tanning methods can offer benefits like enhanced durability, better moisture control, and a more authentic finish. These classic techniques frequently enough yield leather that is rich in texture and character.
while modern methods can be more convenient and faster, the results may not always match the quality of traditionally tanned hides. This craft connects you to historical processes, providing an enriching experience while working on your project.
What are common mistakes to avoid when tanning a hide with hair on?
Common mistakes include not properly fleshing the hide, using harsh chemicals, or skipping the soaking step. these errors can lead to poor quality leather, loss of hair, or an unfavorable odor.
Always follow the prescribed steps carefully and remember that patience is key in the tanning process. For more insights on this topic, refer to our guide that discusses common pitfalls in the tanning process.
Concluding Remarks
As we wrap up this exploration of tanning a hide with hair on, it’s clear that this traditional craftsmanship intertwines science with artistry. We’ve uncovered crucial steps—from proper skin preparation and preservation techniques to selecting the right tanning agents that honor both the hide and its natural character. Whether you’re a novice eager to learn or an experienced tanner looking to refine your skills, the methods outlined here can help you achieve extraordinary results.
Don’t hesitate to dive deeper into specific techniques mentioned, adapting them to your personal projects. Every hide can tell a story, and your attention to detail will ensure that the beauty and integrity of the fur are preserved. Remember, the journey of learning this craft is as rewarding as the final product, offering both a connection to generations past and a sense of accomplishment in your own hands.
We invite you to continue your exploration of hide tanning, engage with fellow enthusiasts, and share your experiences. Your insights may spark inspiration in others, creating a vibrant community passionate about preserving this invaluable skill.Happy tanning!


